According to entomologists, beehives are disappearing at an alarmingly rapid pace—and this isn’t just affecting our honey supply. Without bees, a whole lot of the food we eat wouldn’t exist anymore; produce such as almonds and cherries, for instance, are dependent on bee pollination to grow. Bee disappearances are partially due to pesticides and mites, but climate change is also a big factor.
Amazingly, everyday people are trying to do their part to help by keeping their own beehives in their backyards. Even city dwellers are learning how to build their own hives for their fire escapes! It’s not just a trend, either: it’s a necessity for the future of our earth’s fragile ecosystem.
Want to know how to make your own beehive at home? Simply follow these steps, and voila! You’ll be eating your own organic honey—and doing your part to save the bees—in no time at all.
Homemade beehives are not only helpful when it comes to restoring the planet’s ever-dwindling bee population, but it’s fun to have your own supply of fresh honey!
Essentially, you’ll buy a pre-made bottom beehive kit (Amazon sells a good one here), then plywood and jars to customize it. For the rest of the beehive, you’ll need: one piece of 2″ x 12″ x 6′ wood (cut two pieces to 22″ each for the sides); one piece of 2″ x 12″ x 6′ wood (cut two pieces to 18″ each for the front and back); one piece of 1″ x 1″ x 6′ wood (cut two pieces to 22″ each for the top frame’s left and right sides); one piece of 1″ x 1″ x 6′ wood (cut two pieces to 18″ each for the top frame’s front and back sides); one piece of thick plywood cut to 16″ x 20″; 12 big mouth quart-sized jars for the honeycomb; one box of 1″ wood screws; one can of any dark wood stain; and, of course, your bees!
Once you’ve measured all of your plywood, it’s time to cut each piece. Remember: you’ll already have the assembled beehive kit for the bottom, so the plywood will act as a frame that you can stain however you like!
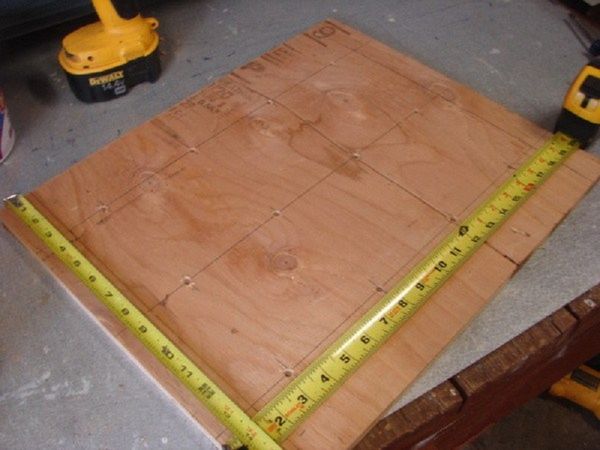
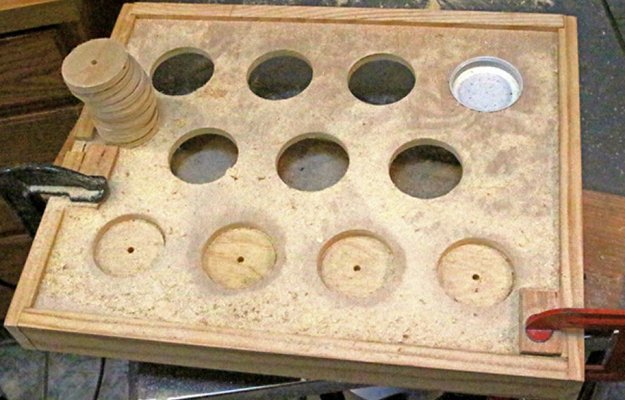
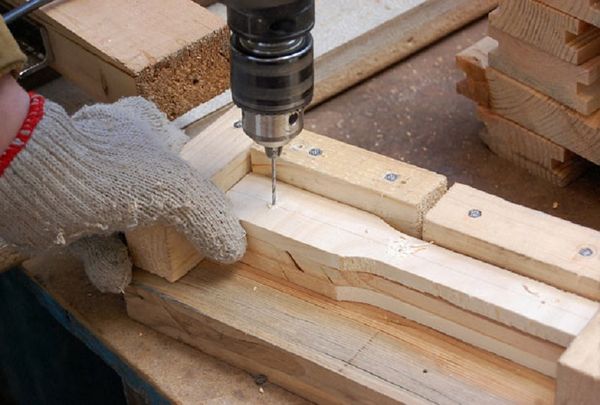
Next, you’ll need to create the top of the hive; this is where your mason jars will be attached. Taking the 16″ x 20″ piece of plywood, measure and mark where you want your 12 holes to be. Using a hole saw, drill your holes, which should each be 3 1/2″ in diameter. Test your holes by screwing in the mason jars to make sure they’ll fit.
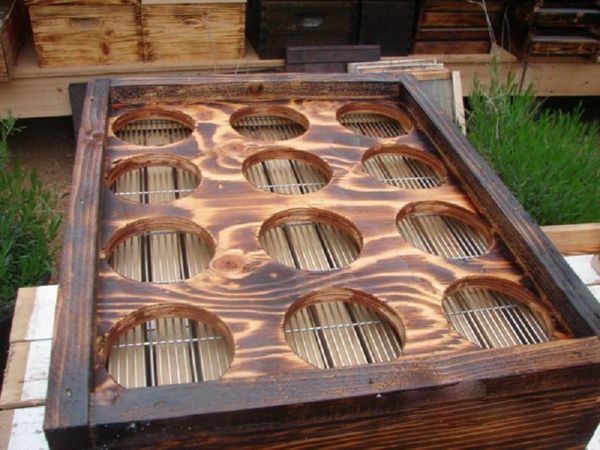
Now you can create the top frame by screwing together the four pieces of 18″ and 22″ plywood you cut previously. Feel free to stain the wood any color you’d like, too!
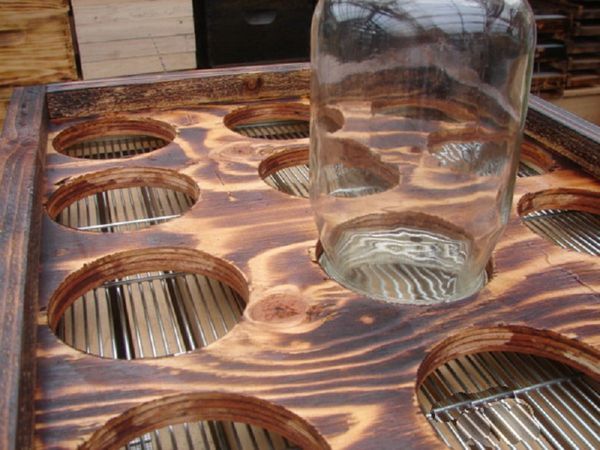
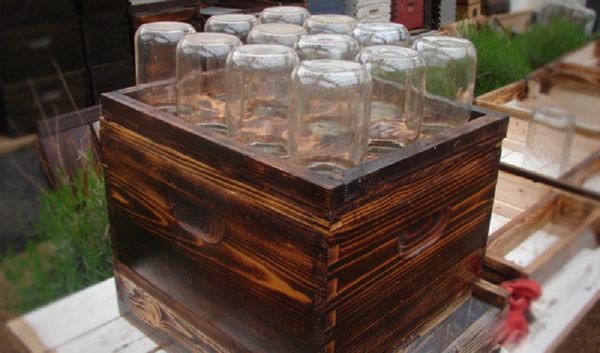
Now for the fun part! Twist your 12 mason jars upside-down into each hole. One note: be sure to always sanitize your jars before permanently placing them on their respective places. They should stand perfectly if the measurements for the holes are correct.
Read Also: This Type of Raw Honey Is Kills EVERY Kind of Bacteria Scientists Throw At It
You should add washers or shims inside the jars to support the weight of the honey that will be there later. With the screw lids on, the jars should be snug with less than a 1/16″ gap between the jar and the beehive hole.
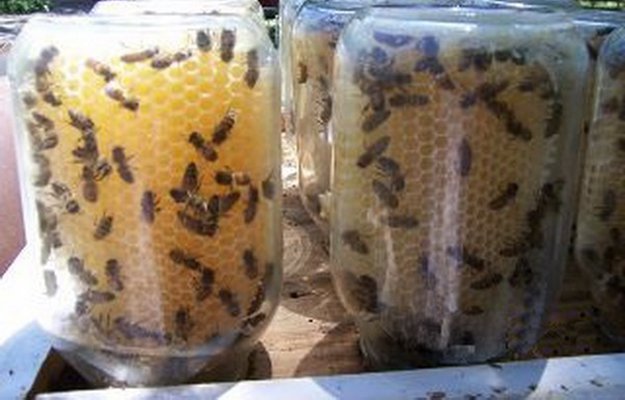
Place starter strips or empty combs inside the jars. Now it’s time to add your bees! You’ll see them immediately become attracted to the comb, and start their work making honey.
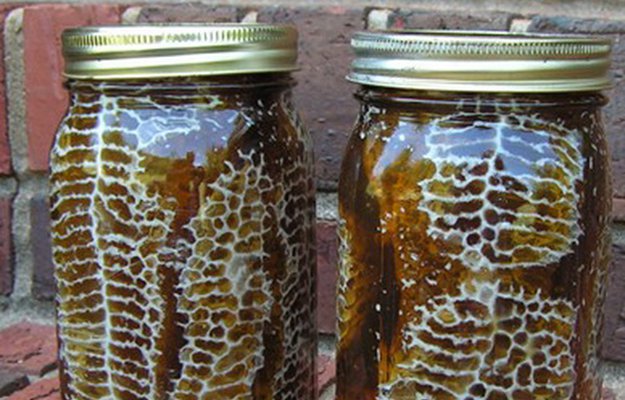
Once the jars are filled with honey, twist the caps back on. That way, the bees will keep working while you harvest your yummy organic honey. You’ll never run out of sweetener again!
The jars will become heated quickly since there’s no ventilation, so make sure you keep them in the shade (or place them under some sort of screen). You also want to avoid allowing your bees into the areas around the jars, since they’ll make a bit of a mess!
Read Also: Morgan Freeman Changed His 124 Acre Ranch Into A Bee Sanctuary To Help Save The Bees
It may seem like a big job, but these steps are all you really need to make an attractive, stable home for your new bees. Once you’ve got the basic supplies in there, they will do all the rest of the work. Get ready for your very own beehive!
Share this bee-autiful project with your friends below!
Originally published on Boredom Therapy